
WIDNES DEVIATION RAILWAY
|
The primary purpose of the Widnes Deviation Railway was to enable Garston and Warrington line trains to pass over the Widnes and St Helens line without impeding traffic on that route. The origal routes crossed on the level at Widnes Dock Junction which caused much congestion. The spur was lifted by the end of July 1982. In the mid-1990s Watkinson Way was built on most of the trackbed of the spur.
|
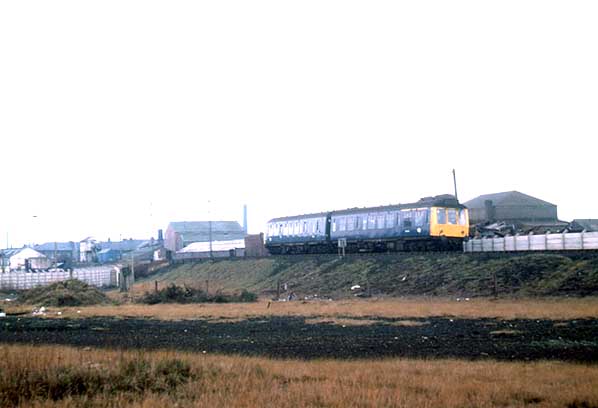
Photo by Bevan Price
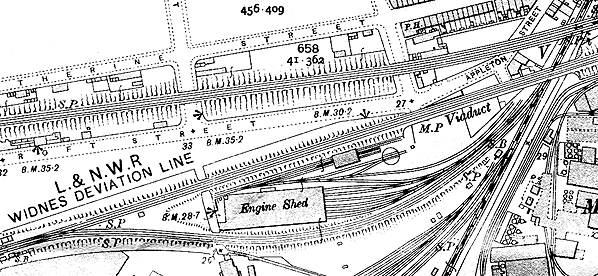 The Widnes Deviation St Helens line spur shown on a 1905 map. The spur diverges from the main line at the bottom left of the map. In the top right it joins the St Helens line and passes under the deviation. Between the spur and the main line was the Widnes Engine Shed.
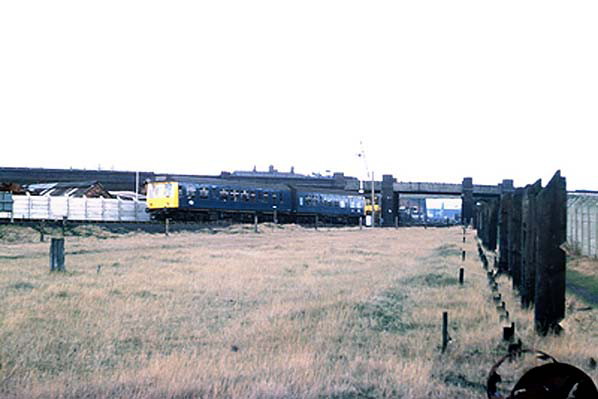 Looking north at the same DMU as in the picture above is seen at the end of the deviation spur line. The junction between the spur and the St Helens line had been just to the right of the DMU. The photographer is looking along the route of that line which had closed from Ann Street to Widnes Dock Junction in 1968. The bridge seen in the distance carries the deviation main line
 over the St Helens route.
Photo by Bevan Price
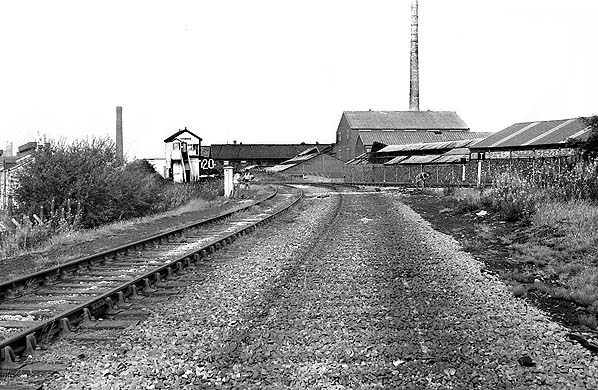
The Widnes Locomotive Depot (8D Shed) seen looking west in the early 1970s. The St Helens line spur of the deviation line is seen in the foreground.
Photo by Graham Earle
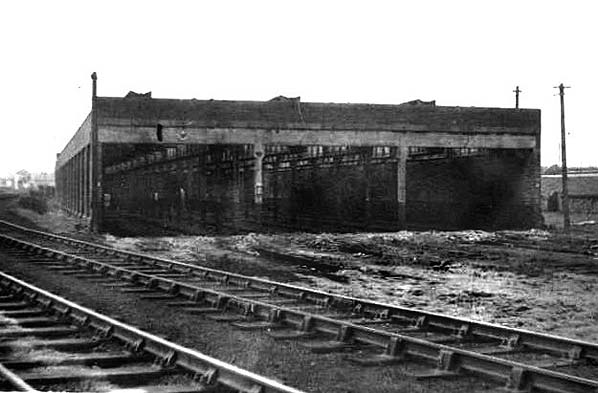
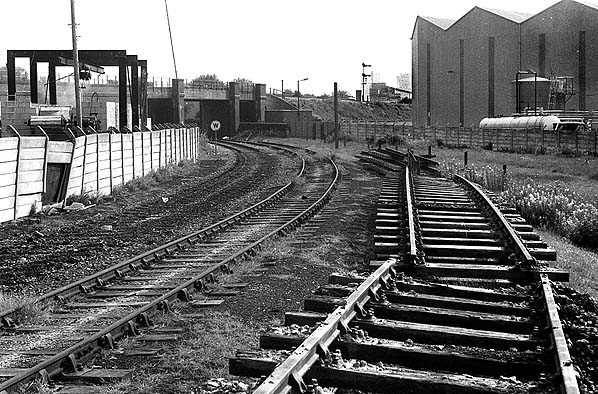
Looking west along the spur line towards Widnes No.7 signal box on 20 July 1982. The up line had been lifted and signals had been removed.
Photo by Graham Earle
Looking east along the deviation St Helens line spur on 20 July 1982. Sections of the up line had been lifted and stacked adjacent to the down. The Widnes Deviation main line can be seen in the distance.
Photo by Graham Earle
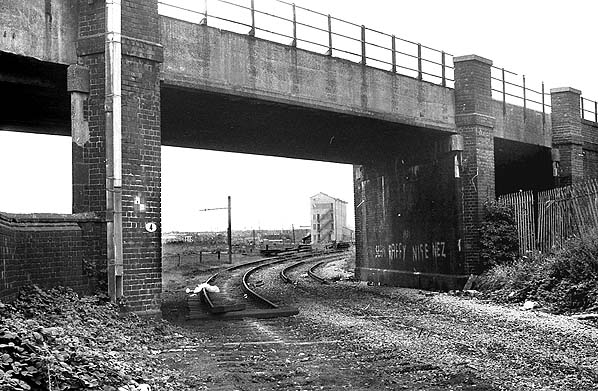
The bridge that carried the Widnes Deviation line over the St Helens line is seen looking south-west on 20 July 1982. The lines curving to the right formed part of the spur that connected the
St Helens line to the deviation.
Photo by Graham Earle
To continue the journey along the Widnes Deviation Railway click here
 Home Page
| Last updated: Thursday, 18-May-2017 17:23:40 CEST |
© 1998-2013 Disused Stations
|